
티스토리 뷰

이번 포스팅에서는 react-three/cannon을 활용하여 주사위 굴리기를 구현해보려고 합니다.
react-three/cannon란?
cannon-es을 기반으로 리액트에서 사용하기 쉽도록 만든 라이브러리로 물리적인 엔진을 적용하는데 사용하는 라이브러리입니다.
설치법
npm install @react-three/cannon
초기 세팅
Physics 컴포넌트로 물리적인 엔진을 적용할 컴포넌트를 감쌉니다.
App.jsx
<Canvas camera={{ position: [0, 50, 0], fov: 15 }} shadows>
    <ambientLight intensity={0.5} />
    <directionalLight position={[0, 100, 70]} intensity={1} castShadow />
    <Physics gravity={[0, -30, 0]} defaultContactMaterial={{ restitution: 0.4 }}>
        {/* Physics related objects in here please */}
    </Physics>
    <OrbitControls />
</Canvas>
- gravity : 중력을 적용할 수 있습니다. 지구의 중력은 [0, -9.81, 0] 입니다.
- restitution : 물체가 충돌 후 얼마나 튕겨나가지는지를 설정합니다.
이제 땅을 생성해봅시다.
Ground.jsx
import { usePlane } from "@react-three/cannon";

export const Ground = () => {
  const [ref] = usePlane(() => ({
    rotation: [-Math.PI / 2, 0, 0],
    position: [0, 0, 0],
  }));

  return (
    <mesh ref={ref} receiveShadow>
      <planeGeometry args={[100, 100]} />
      <meshStandardMaterial color="green" />
    </mesh>
  );
};
usePlane : usePlane Hook을 통해 물리적 평면을 생성합니다.
rotatiton : 평면의 회전도를 설정합니다.
position : 평면의 위치를 지정합니다.
mesh 태그에 usePlane Hook에서 반환된 ref를 mesh에 연결하여 물리 엔진과 상호작용할 수 있도록 합니다.
만든 땅을 Physics 컴포넌트 사이에 넣습니다.
App.jsx
<Canvas camera={{ position: [0, 50, 0], fov: 15 }} shadows>
<ambientLight intensity={0.5} />
<directionalLight position={[0, 100, 70]} intensity={1} castShadow />
<Physics gravity={[0, -30, 0]} defaultContactMaterial={{ restitution: 0.4 }}>
  <Ground />
</Physics>
<OrbitControls />
</Canvas>
결과 화면
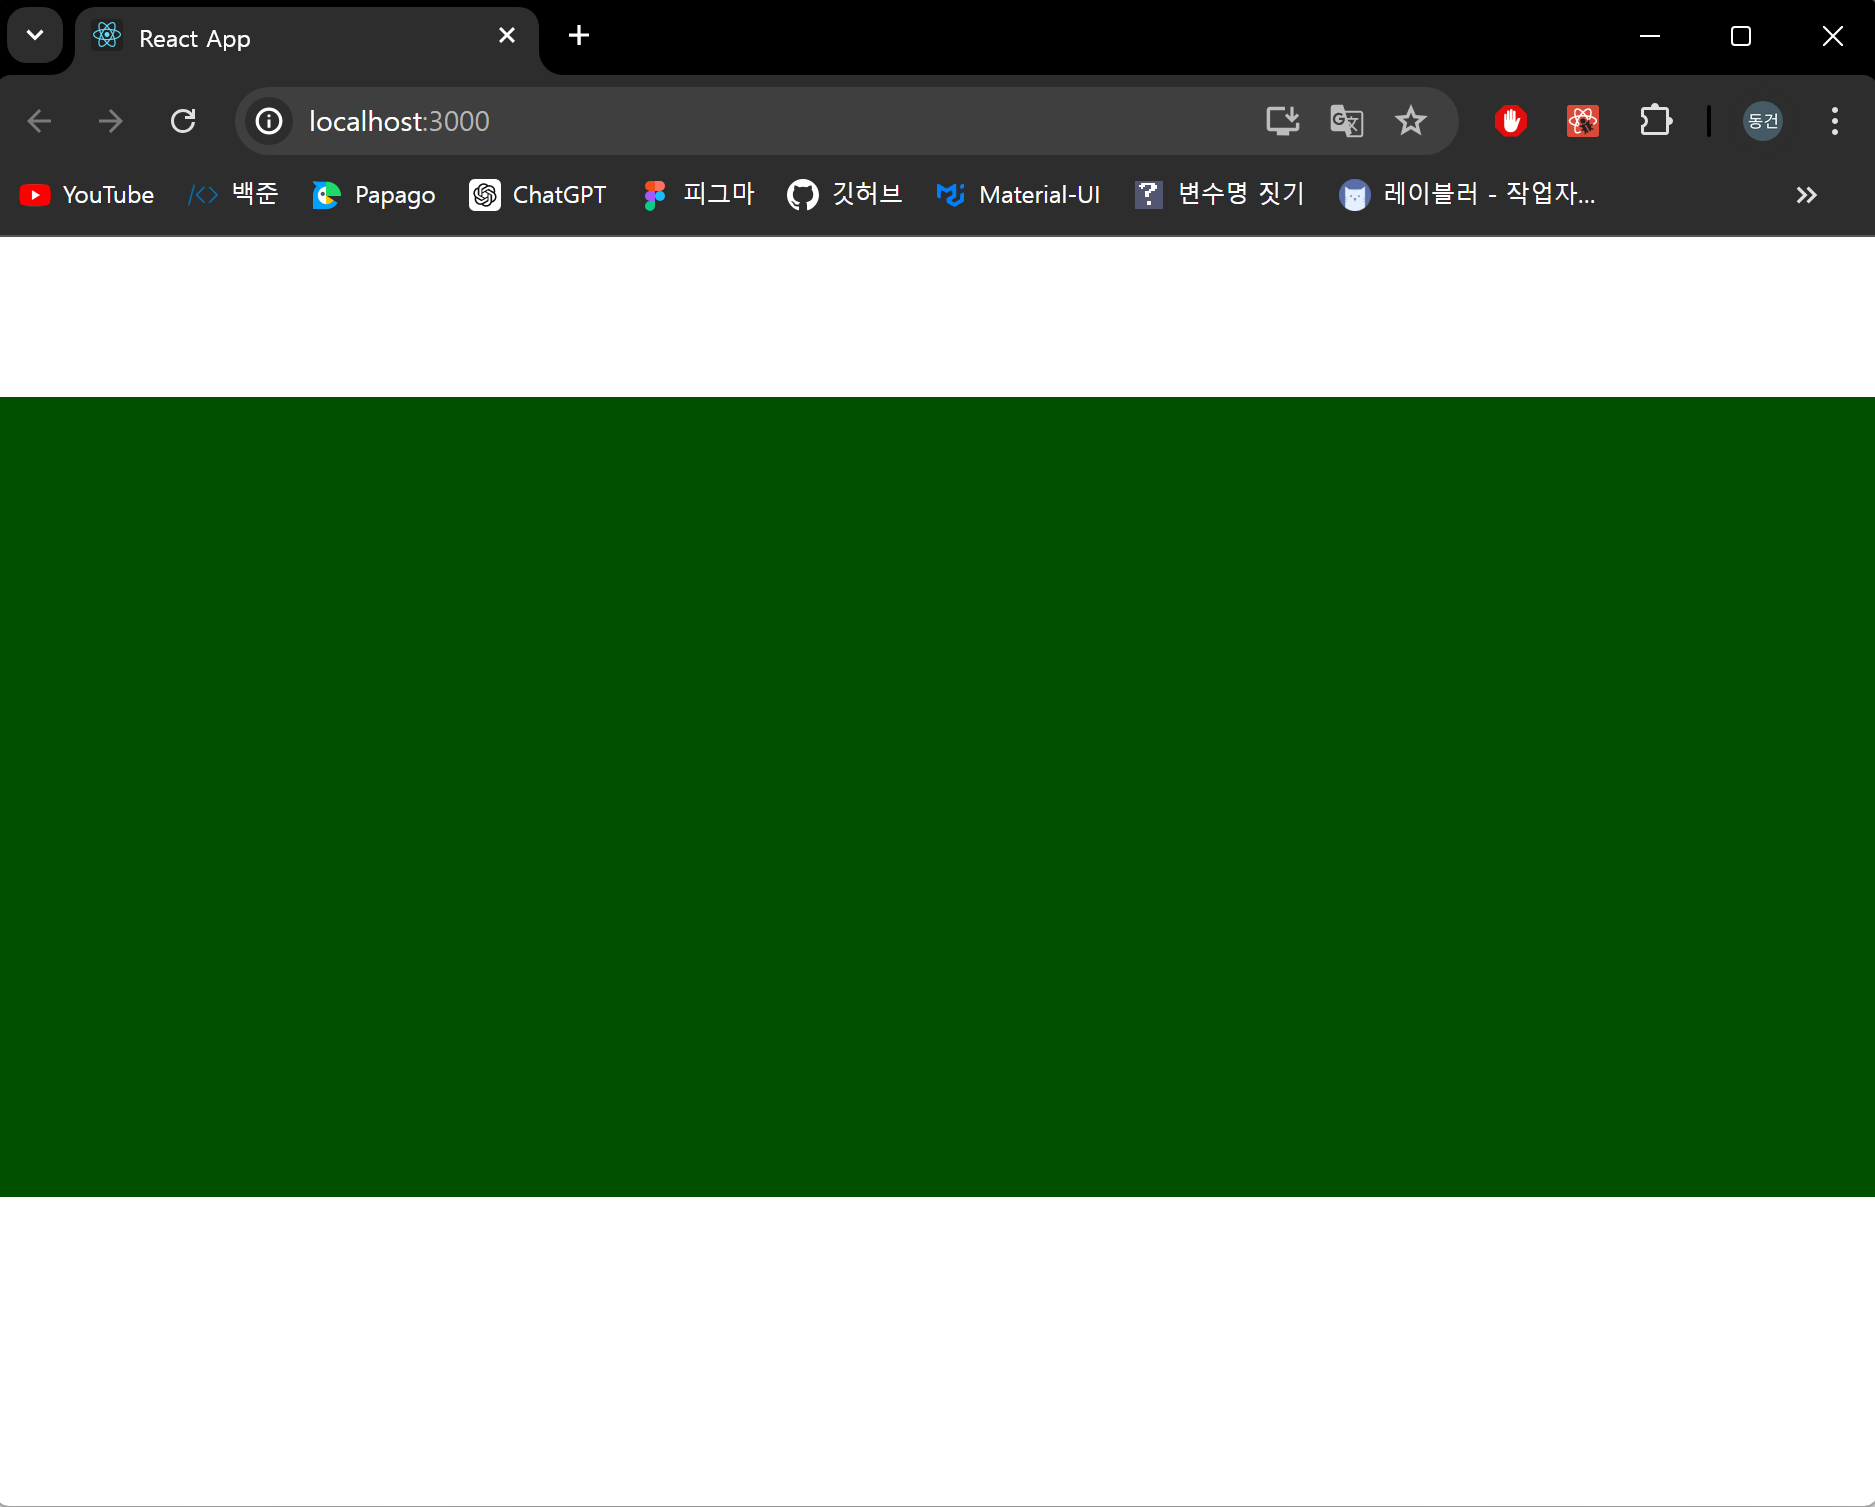
추가로 주사위를 굴릴때 너무 멀리 날아가지 않도록 벽을 생성해봅시다.
Wall.jsx
import { usePlane } from "@react-three/cannon";

export const Wall = ({ position, rotation, opacity }) => {
  const [ref] = usePlane(() => ({
    rotation: rotation,
    position: position,
  }));
  return (
    <mesh ref={ref}>
      <boxGeometry args={[10, 5, 0.2]} />
      <meshStandardMaterial transparent opacity={opacity} />
    </mesh>
  );
};
만든 벽을 Physics 컴포넌트 사이에 넣도록 합시다.
App.jsx
<Canvas camera={{ position: [0, 50, 0], fov: 15 }} shadows>
    <ambientLight intensity={0.5} />
    <directionalLight position={[0, 100, 70]} intensity={1} castShadow />
    <Physics gravity={[0, -30, 0]} defaultContactMaterial={{ restitution: 0.4 }}>
      <Ground />
      <Wall position={[0, 2.5, -5]} rotation={[0, 0, 0]} opacity={100} />
      <Wall position={[0, 2.5, 5]} rotation={[0, Math.PI, 0]} opacity={100} />
      <Wall position={[-5, 2.5, 0]} rotation={[0, Math.PI / 2, 0]} opacity={100} />
      <Wall position={[5, 2.5, 0]} rotation={[0, -Math.PI / 2, 0]} opacity={100} />
    </Physics>
    <OrbitControls />
</Canvas>
결과 화면
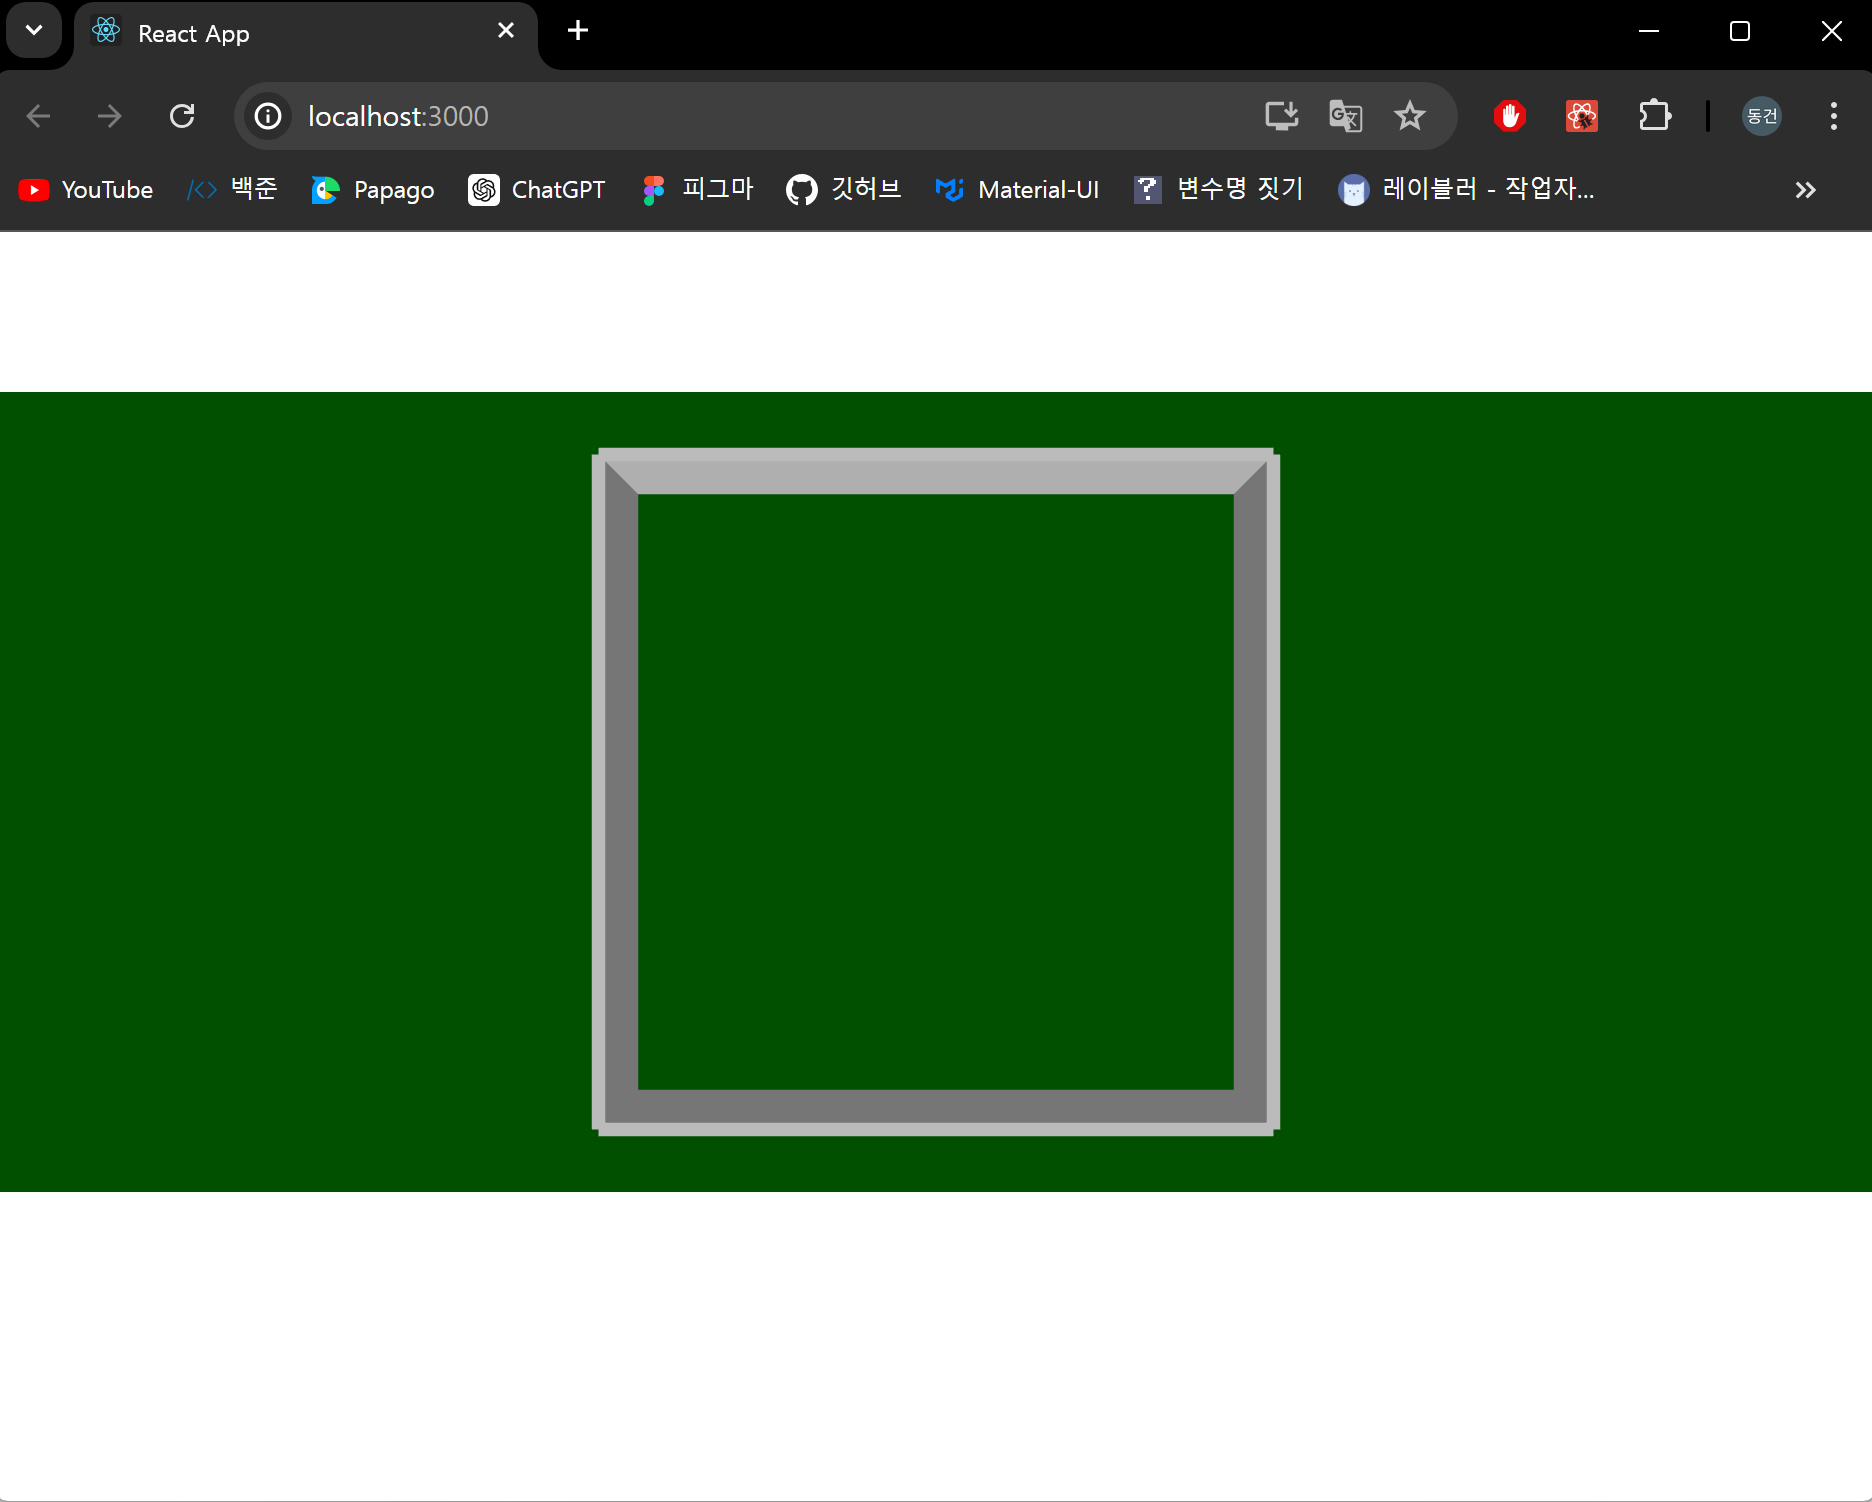
주사위를 던질 공간이 준비되었으니, 이제 주사위를 생성해봅시다.
Dice.jsx
import { useBox, useSphere } from "@react-three/cannon";
import { useGLTF } from "@react-three/drei";
import { useEffect, useMemo, useRef } from "react";
import * as THREE from "three";

export const Dice = ({ position }) => {
  const { scene } = useGLTF("/dice/scene.gltf");

  const copiedScene = useMemo(() => scene.clone(), [scene]);
  const [ref, api] = useBox(() => ({
    mass: 10,
    position: position,
    args: [1, 1, 1],
    friction: 0.2,
    restitution: 0.7,
  }));

  useEffect(() => {
    if (copiedScene) {
      copiedScene.traverse((child) => {
        if (child.isMesh) {
          child.castShadow = true;
        }
      });
    }
  }, [copiedScene]);

  return <primitive object={copiedScene} ref={ref} scale={[0.05, 0.05, 0.05]} />;
};
useGLTF : react-three/drei를 통해 gltf 형태인 주사위 3d 모델을 불러옵니다. 이때 불러온 모델은 자동적으로 캐싱이 되기 때문에 clone을 통해 모델을 복제하도록 합니다.
castShadow : 주사위에 그림자를 추가합니다.
api : 해당 물체의 물리적 속성을 조작할 수 있는 다양한 메서드를 포함하고 있습니다.
결과 화면
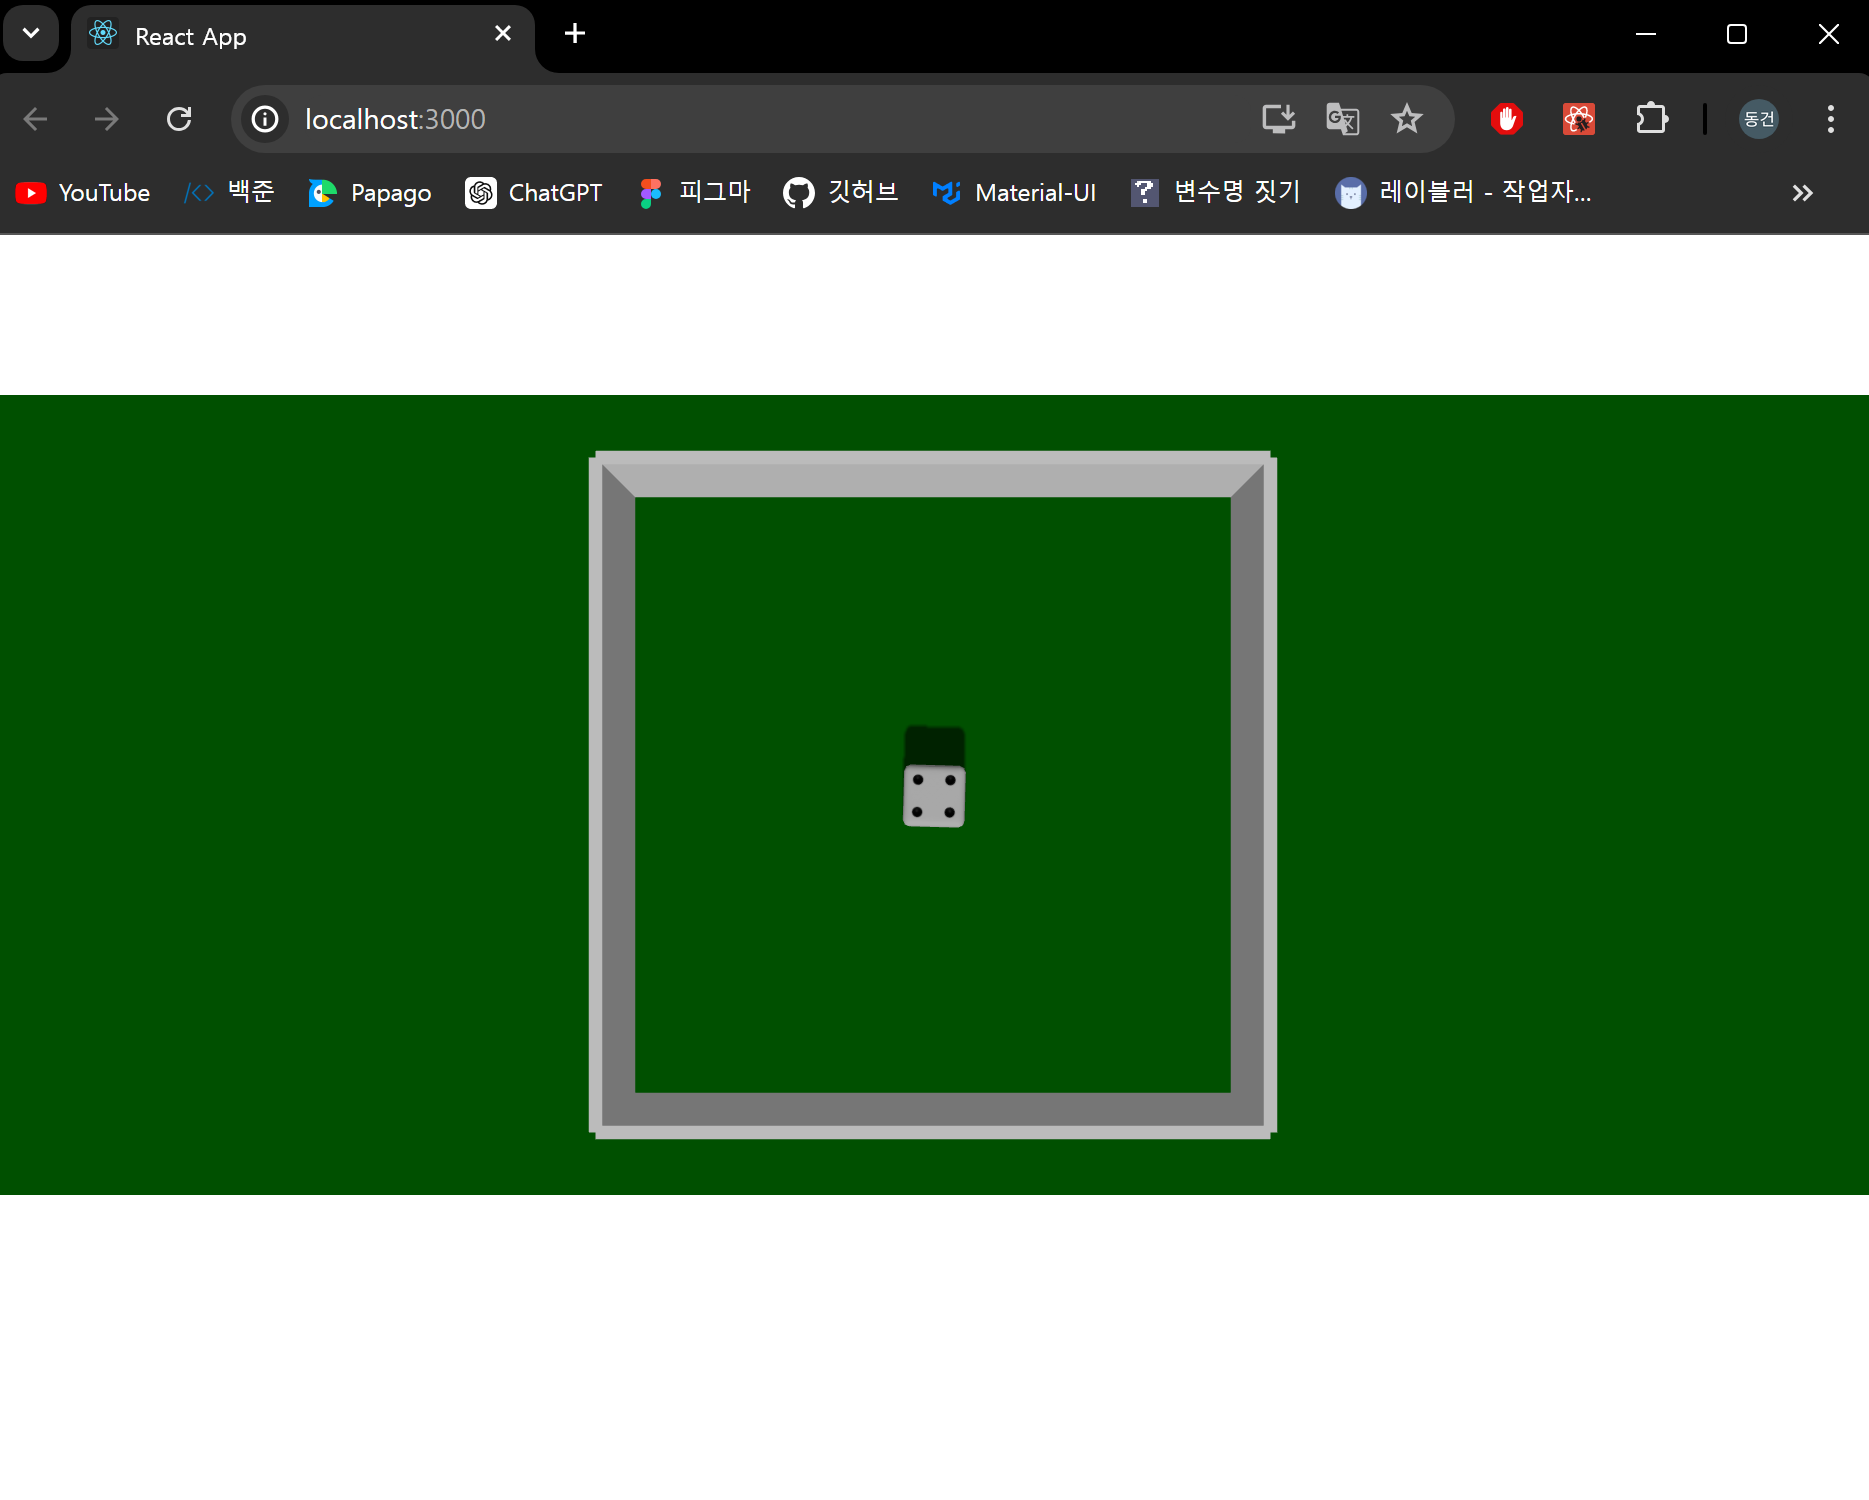
주사위가 정상적으로 생성됐습니다.
이제 주사위가 생성됐을때 충격을 주어 주사위가 회전하면서 떨어지도록 구현해보겠습니다.
Dice.jsx
import { useBox, useSphere } from "@react-three/cannon";
import { useGLTF } from "@react-three/drei";
import { useEffect, useMemo, useRef } from "react";

export const Dice = ({ gauge, position, setResults }) => {
  const { scene } = useGLTF("/dice/scene.gltf");

  const copiedScene = useMemo(() => scene.clone(), [scene]);
  const [ref, api] = useBox(() => ({
    mass: 10,
    position: position,
    args: [1, 1, 1],
    friction: 0.2,
    restitution: 0.7,
  }));

  useEffect(() => {
    api.applyImpulse([-30, 10, 0], [0, 0.7, 0.3]);
  }, []);

  useEffect(() => {
    if (copiedScene) {
      copiedScene.traverse((child) => {
        if (child.isMesh) {
          child.castShadow = true;
        }
      });
    }
  }, [copiedScene]);


  return <primitive object={copiedScene} ref={ref} scale={[0.05, 0.05, 0.05]} />;
};
applyImpulse를 통해 충격을 줄 수 있습니다. 첫번째 인수는 물체에 가해지는 힘의 크기와 방향을 나타냅니다. 두번째 인수는 충격 지점으로, 이 지점에서 충격이 가해집니다. 이를 통해 물체의 회전도 조작할 수 있습니다.
결과 화면
이제 주사위 굴리기 버튼과 주사위 개수를 지정할 수 있는 인풋창을 생성해 사용자가 원하는 만큼 주사위를 굴릴 수 있도록 하도록 하겠습니다. 굴리기 버튼은 게이지를 통해 applyImpulse의 가해지는 힘을 설정할 수 있도록 구현하겠습니다.
App.jsx
function App() {
  const [dices, setDices] = useState([]);
  const [gauge, setGauge] = useState(0);
  const [isPressing, setIsPressing] = useState(false);
  const [numberOfDices, setNumberOfDices] = useState(2);

  const reset = () => {
    setDices([]);
  };

  const throwDice = () => {
    setDices([]);
    for (let i = 0; i < numberOfDices; i++) {
      const position = [
        Math.random() * 8 - 4, // -4 ~ 4 사이의 값
        4,
        Math.random() * 8 - 4, // -4 ~ 4 사이의 값
      ];
      setDices((cube) => [
        ...cube,
        <Dice key={cube.length} gauge={gauge} position={position} setResults={setResults} />,
      ]);
    }
  };

  useEffect(() => {
    let interval;
    if (isPressing) {
      interval = setInterval(() => {
        setGauge((prev) => (prev < 100 ? prev + 1 : 0));
      }, 10);
    } else {
      clearInterval(interval);
    }

    return () => clearInterval(interval);
  }, [isPressing]);


  return (
    <div style={{ marginTop: "80px", height: "400px" }}>
      <input
        type="number"
        value={numberOfDices}
        onChange={(e) => {
          reset();
          setNumberOfDices(parseInt(e.target.value));
        }}
        min="1"
        max="10"
      />
      <button
        onMouseDown={() => setIsPressing(true)}
        onMouseUp={() => {
          setIsPressing(false);
          throwDice();
          setGauge(0);
        }}
        onTouchStart={() => setIsPressing(true)}
        onTouchEnd={() => {
          setIsPressing(false);
          throwDice();
          setGauge(0);
        }}
      >
        주사위 굴리기
      </button>
      <button onClick={reset}>초기화</button>
      <div>
        <span>게이지: {gauge}</span>
      </div>
    </div>
  );
}
isPressing 상태변수를 통해 버튼을 누르고 있는 상태를 판단하여 게이지를 1~100까지 채울 수 있도록 합니다.
throwDice 함수를 통해 지정한 주사위 개수만큼 dices 상태변수에 Dice 컴포넌트를 저장합니다. 이때 props로 넘겨지는 position은 벽 안쪽으로 생성되도록 하였습니다.
Dice 컴포넌트에 applyImpulse를 gauage 값으로 계산하도록 수정하도록 하겠습니다.
Dice.jsx
 useEffect(() => {
    const rad = Math.random() * Math.PI * 2;
    const x = Math.cos(rad) * gauge;
    const z = Math.sin(rad) * gauge;
    api.applyImpulse([-x, 5, z], [0, 0.7, 0.3]);
  }, []);
결과 화면

이제 주사위를 굴러 나온 눈금의 합계를 계산하는 기능을 구현하도록 하겠습니다.
주사위를 굴린 결과를 알아내기 위해 6면의 위치를 판단하여 계산합니다.
Dice.jsx
const calculateFacePositions = () => {
    // 각 면의 위치를 저장할 배열 초기화
    const facePositions = [];

    // 각 면의 법선 벡터 정의
    const faceNormals = [
      new THREE.Vector3(0, 0, 1), // 앞면
      new THREE.Vector3(0, 0, -1), // 뒷면
      new THREE.Vector3(1, 0, 0), // 오른쪽 면
      new THREE.Vector3(-1, 0, 0), // 왼쪽 면
      new THREE.Vector3(0, 1, 0), // 윗면
      new THREE.Vector3(0, -1, 0), // 아랫면
    ];

    // 객체의 현재 회전을 나타내는 쿼터니언 가져오기
    const quaternion = new THREE.Quaternion();
    ref.current.getWorldQuaternion(quaternion);

    // 각 법선 벡터에 대해 반복하여 면의 위치 계산
    faceNormals.forEach((normal) => {
      // 법선 벡터를 회전시킴
      const rotatedNormal = normal.clone().applyQuaternion(quaternion);

      // 객체의 위치에 회전된 법선 벡터를 더하여 면의 위치 계산
      const facePosition = new THREE.Vector3().copy(ref.current.position).add(rotatedNormal);

      // 계산된 면의 위치를 배열에 추가
      facePositions.push(facePosition);
    });

    // 면의 위치 배열 반환
    return facePositions;
  };
법선 벡터를 정의하고, 객체의 회전을 고려하여 회전된 법선 벡터를 계산한 후, 객체의 현재 위치와 결합하여 각 면의 위치를 구합니다. 이 계산을 통해 객체가 회전한 상태에서도 각 면의 위치를 정확히 파악할 수 있습니다.
주사위가 구르고 난 후에 멈춰있을 때 눈금을 계산해야하기 때문에 velocity 값이 0.01 이하일 때 눈금을 계산하도록 합니다.
Dice.jsx
useEffect(() => {
    const unsubscribeVelocity = api.velocity.subscribe((v) => {
      if (v.every((value) => Math.abs(value) < 0.01)) {
        calculateFacePositions();
        unsubscribeVelocity(); // Unsubscribe to prevent the loop
      }
    });
  }, [api]);
주사위를 굴러서 멈췄을 때에 계산 값들을 보면 눈금마다 각 면의 y축 높이가 다른 것을 알 수 있습니다.
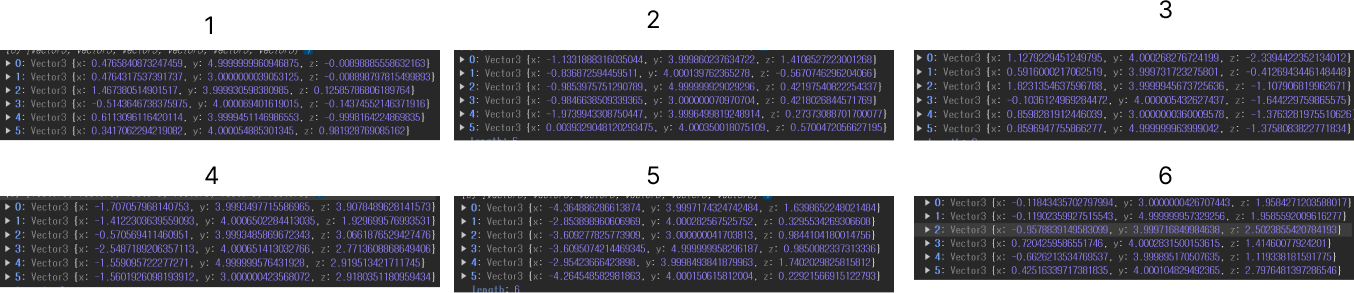
이 값들을 통해 6면 중에 가장 높은 면의 인덱스에 따라 눈금을 판단할 수 있습니다.
Dice.jsx
const diceScale = {
  0: 1,
  1: 6,
  2: 2,
  3: 5,
  4: 4,
  5: 3,
};

const facePositions = calculateFacePositions();
let maxY = -Infinity;
let maxIndex = -1;

facePositions.forEach((item, index) => {
  if (item.y > maxY) {
    maxY = item.y;
    maxIndex = index;
  }
});

console.log("눈금:", diceScale[maxIndex]);
이 값을 상태 변수에 저장하여 눈금 결과와 눈금의 모든 수를 더해 보여주도록 합시다.
Dice.jsx
const handleSleep = () => {
    const diceScale = {
      0: 1,
      1: 6,
      2: 2,
      3: 5,
      4: 4,
      5: 3,
    };
    const facePositions = calculateFacePositions();
    let maxY = -Infinity;
    let maxIndex = -1;

    facePositions.forEach((item, index) => {
      if (item.y > maxY) {
        maxY = item.y;
        maxIndex = index;
      }
    });

    setResults((result) => [...result, diceScale[maxIndex]]);

    console.log("눈금:", diceScale[maxIndex]);
  };

  useEffect(() => {
    const unsubscribeVelocity = api.velocity.subscribe((v) => {
      if (v.every((value) => Math.abs(value) < 0.01)) {
        handleSleep();
        unsubscribeVelocity(); // Unsubscribe to prevent the loop
      }
    });
  }, [api]);
저장된 값을 통해 화면에 보여주도록 하고 합계도 보여주도록 하겠습니다.
App.jsx
const formattedResults = results.reduce((acc, result, index) => {
    if (index === results.length - 1) {
      return acc + result + " = ";
    } else {
      return acc + result + " + ";
    }
  }, "");

  // 결과 값의 합계 계산
  const sum = results.reduce((acc, curr) => acc + curr, 0);
<span>
  {results.length > 1 && formattedResults}
  {sum}
</span>
결과 화면
잘 작동하는 것을 확인할 수 있습니다!
전체 코드
App.jsx
import { Canvas } from "@react-three/fiber";
import { OrbitControls, Text } from "@react-three/drei";
import { Physics } from "@react-three/cannon";
import { useEffect, useState } from "react";
import { Ground } from "./components/Ground";
import { Wall } from "./components/Wall";
import { Dice } from "./components/Dice";

function App() {
  const [dices, setDices] = useState([]);
  const [gauge, setGauge] = useState(0);
  const [isPressing, setIsPressing] = useState(false);
  const [numberOfDices, setNumberOfDices] = useState(2);
  const [results, setResults] = useState([]);

  const reset = () => {
    setResults([]);
    setDices([]);
  };

  const throwDice = () => {
    setDices([]);
    for (let i = 0; i < numberOfDices; i++) {
      const position = [
        Math.random() * 8 - 4, // -4 ~ 4 사이의 값
        Math.random() * 4 + 5,
        Math.random() * 8 - 4, // -4 ~ 4 사이의 값
      ];
      setDices((cube) => [
        ...cube,
        <Dice key={cube.length} gauge={gauge} position={position} setResults={setResults} />,
      ]);
    }
  };

  useEffect(() => {
    let interval;
    if (isPressing) {
      interval = setInterval(() => {
        setGauge((prev) => (prev < 100 ? prev + 1 : 0));
      }, 10);
    } else {
      clearInterval(interval);
    }

    return () => clearInterval(interval);
  }, [isPressing]);

  const formattedResults = results.reduce((acc, result, index) => {
    if (index === results.length - 1) {
      return acc + result + " = ";
    } else {
      return acc + result + " + ";
    }
  }, "");

  // 결과 값의 합계 계산
  const sum = results.reduce((acc, curr) => acc + curr, 0);

  return (
    <div style={{ marginTop: "80px", height: "400px" }}>
      <div
        style={{
          position: "absolute",
          width: "100%",
          display: "flex",
          justifyContent: "center",
          zIndex: "-999",
          top: "50px",
          fontSize: "18px",
        }}
      >
        <span>
          {results.length > 1 && formattedResults}
          {sum}
        </span>
      </div>
      <input
        type="number"
        value={numberOfDices}
        onChange={(e) => {
          reset();
          setNumberOfDices(parseInt(e.target.value));
        }}
        min="1"
        max="10"
      />
      <button
        onMouseDown={() => setIsPressing(true)}
        onMouseUp={() => {
          setIsPressing(false);
          throwDice();
          setGauge(0);
        }}
        onTouchStart={() => setIsPressing(true)}
        onTouchEnd={() => {
          setIsPressing(false);
          throwDice();
          setGauge(0);
        }}
      >
        주사위 굴리기
      </button>
      <button onClick={reset}>초기화</button>
      <div>
        <span>게이지: {gauge}</span>
      </div>
      <Canvas camera={{ position: [0, 50, 0], fov: 15 }} shadows>
        <ambientLight intensity={0.5} />
        <directionalLight position={[0, 100, 70]} intensity={1} castShadow />
        <Physics gravity={[0, -30, 0]} defaultContactMaterial={{ restitution: 0.3 }}>
          <Ground />
          <Wall position={[0, 2.5, -5]} rotation={[0, 0, 0]} opacity={100} />
          <Wall position={[0, 2.5, 5]} rotation={[0, Math.PI, 0]} opacity={100} />
          <Wall position={[-5, 2.5, 0]} rotation={[0, Math.PI / 2, 0]} opacity={100} />
          <Wall position={[5, 2.5, 0]} rotation={[0, -Math.PI / 2, 0]} opacity={100} />
          {dices.map((dice) => dice)}
        </Physics>
        <OrbitControls />
      </Canvas>
    </div>
  );
}

export default App;
Dice.jsx
import { useBox, useSphere } from "@react-three/cannon";
import { useGLTF } from "@react-three/drei";
import { useEffect, useMemo, useRef } from "react";
import * as THREE from "three";

export const Dice = ({ gauge, position, setResults }) => {
  const { scene } = useGLTF("/dice/scene.gltf");

  const copiedScene = useMemo(() => scene.clone(), [scene]);
  const [ref, api] = useBox(() => ({
    mass: 10,
    position: position,
    args: [1, 1, 1],
    friction: 0.2,
    restitution: 0.7,
  }));

  useEffect(() => {
    const rad = Math.random() * Math.PI * 2;
    const x = Math.cos(rad) * gauge;
    const z = Math.sin(rad) * gauge;
    api.applyImpulse([-x, 5, z], [0, 0.7, 0.3]);
  }, []);

  useEffect(() => {
    if (copiedScene) {
      copiedScene.traverse((child) => {
        if (child.isMesh) {
          child.castShadow = true;
        }
      });
    }
  }, [copiedScene]);

  const calculateFacePositions = () => {
    // 각 면의 위치를 저장할 배열 초기화
    const facePositions = [];

    // 각 면의 법선 벡터 정의
    const faceNormals = [
      new THREE.Vector3(0, 0, 1), // 앞면
      new THREE.Vector3(0, 0, -1), // 뒷면
      new THREE.Vector3(1, 0, 0), // 오른쪽 면
      new THREE.Vector3(-1, 0, 0), // 왼쪽 면
      new THREE.Vector3(0, 1, 0), // 윗면
      new THREE.Vector3(0, -1, 0), // 아랫면
    ];

    // 객체의 현재 회전을 나타내는 쿼터니언 가져오기
    const quaternion = new THREE.Quaternion();
    ref.current.getWorldQuaternion(quaternion);

    // 각 법선 벡터에 대해 반복하여 면의 위치 계산
    faceNormals.forEach((normal) => {
      // 법선 벡터를 회전시킴
      const rotatedNormal = normal.clone().applyQuaternion(quaternion);

      // 객체의 위치에 회전된 법선 벡터를 더하여 면의 위치 계산
      const facePosition = new THREE.Vector3().copy(ref.current.position).add(rotatedNormal);

      // 계산된 면의 위치를 배열에 추가
      facePositions.push(facePosition);
    });

    // 면의 위치 배열 반환
    return facePositions;
  };

  const handleSleep = () => {
    const diceScale = {
      0: 1,
      1: 6,
      2: 2,
      3: 5,
      4: 4,
      5: 3,
    };
    const facePositions = calculateFacePositions();
    let maxY = -Infinity;
    let maxIndex = -1;

    facePositions.forEach((item, index) => {
      if (item.y > maxY) {
        maxY = item.y;
        maxIndex = index;
      }
    });

    setResults((result) => [...result, diceScale[maxIndex]]);

    console.log("눈금:", diceScale[maxIndex]);
  };

  useEffect(() => {
    const unsubscribeVelocity = api.velocity.subscribe((v) => {
      if (v.every((value) => Math.abs(value) < 0.01)) {
        handleSleep();
        unsubscribeVelocity(); // Unsubscribe to prevent the loop
      }
    });
  }, [api]);

  return <primitive object={copiedScene} ref={ref} scale={[0.05, 0.05, 0.05]} />;
};
이상으로 리액트에서 cannon을 통해 주사위 굴리는 방법에 대해 알아보았습니다. 물리적인 요소가 많이 들어가 있어 어려운 부분이 있었지만 구글링을 통해 어찌저찌 잘 구현해 볼 수 있었습니다. 게임 만드시는 분들이 얼마나 많은 노고를 통해 만들었는지 느끼게 되었습니다.
참고
https://github.com/pmndrs/use-cannon/tree/master
GitHub - pmndrs/use-cannon: 👋💣 physics based hooks for @react-three/fiber
👋💣 physics based hooks for @react-three/fiber. Contribute to pmndrs/use-cannon development by creating an account on GitHub.
github.com
https://pmndrs.github.io/cannon-es/docs/classes/Body.html#applyForce
Body | cannon-es
The self object, for chainability.
pmndrs.github.io
'React.js' 카테고리의 다른 글
| [React.js] Raect-three-fiber 알아보기 (0) | 2024.07.14 |
|---|---|
| [React.js] React와 EventEmitter3를 활용하여 STOMP WebSocket 메시지 처리하기 (0) | 2024.06.04 |
| [React.js] React.js에서의 클로저(컴포넌트 상태 관리의 이해) (0) | 2024.05.21 |
| [React.js] 메모리제이션을 통해 성능 최적화 하기 (0) | 2024.05.20 |
| [React.js] axios.interceptors를 이용하여 액세스 토큰 재발급 및 헤더 설정하기 (0) | 2024.05.15 |
- Total
- Today
- Yesterday
- 9575
- react-three-fiber
- 4659
- 24431
- useCallback
- useMemo
- 20551
- react.memo
- Next.js
- RefreshToken
- eventemitter3
- rc-dock
- revalidateTag
- web3
- NextAuth
- baekjoon
- js
- stompjs
- revalidatePath
- dynamic routing
- React
- 해시를 사용한 집합과 맵
- 25329
- useState
- react-query
- useQuery
- sepolia
- 백준
- React.JS
- zustand
| 일 | 월 | 화 | 수 | 목 | 금 | 토 |
|---|---|---|---|---|---|---|
| 1 | 2 | 3 | ||||
| 4 | 5 | 6 | 7 | 8 | 9 | 10 |
| 11 | 12 | 13 | 14 | 15 | 16 | 17 |
| 18 | 19 | 20 | 21 | 22 | 23 | 24 |
| 25 | 26 | 27 | 28 | 29 | 30 | 31 |